Infinity MX32 Tutorial
Infinity MX32 provides JTAG Programming for Microchip PIC32MX devices.
The software supports programming of both the boot sector and program sectors of the devices. The software supports devices that are part of a larger device chain and also supports multiple PIC32MX devices in the same chain. As well as an interactive GUI, the software can also be driven by the command line making it suitable for production use.
Selecting the SCAN chain
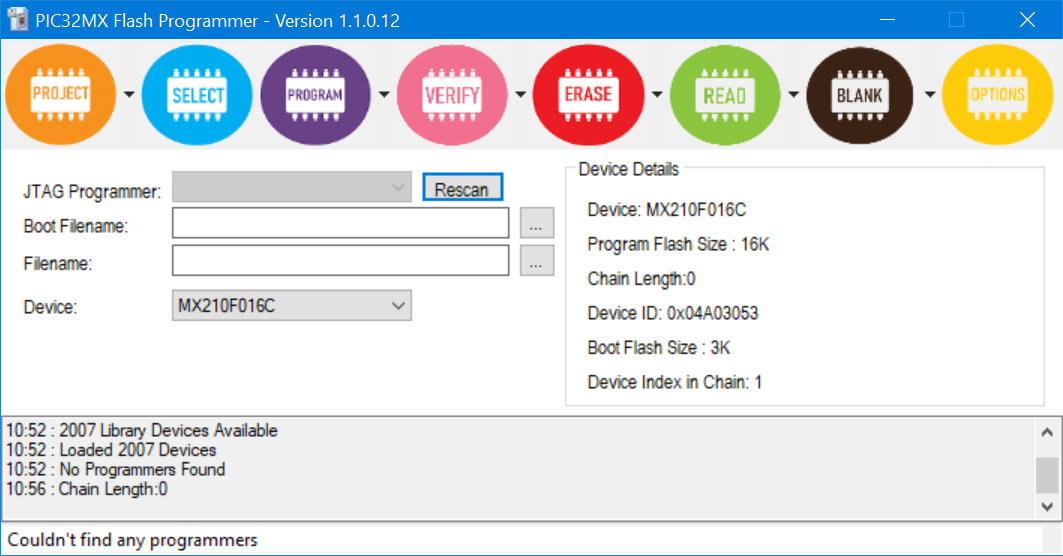
The first step in programming the PIC is to establish which devices are on the JTAG chain. The PIC32MX software is capable of programming the PIC even when this is not the only device in the JTAG chain. To do this
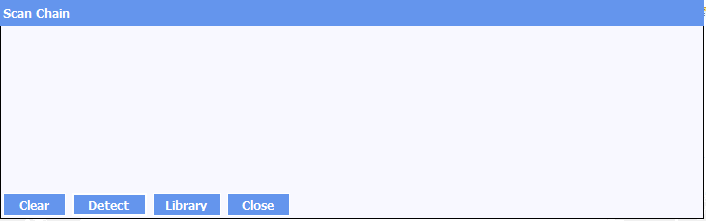
- Click Select from the toolbar. The following window will appear
- Click Detect. The devices in the chain will appear
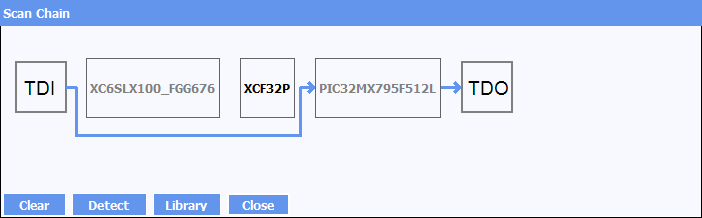
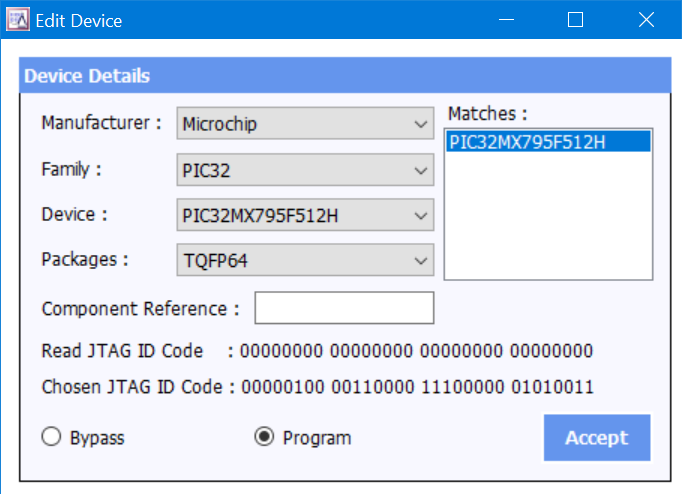
All of the other devices will appear in bypass mode. The PIC will appear in Programming Mode. If you have more than one PIC in the chain then you can click on the PIC you intend to program and select Program and then click Accept
Click the close button to close the Scan chain window. The main window should now show the device to be programmed. Save the project to avoid having to repeat this procedure.
Accessing the Device
Selecting from the toolbar
The toolbar shows five operations. These are Program, Verify, Erase, Read and Blank Check.
The Program, Verify, Erase and Blank Check have three drop down options. For each there will be a Complete Device, Boot and Program option. Below show the program drop down menu.

After selecting one of the drop down options, the main button will then become that option. The programming cycle will also verify the data programmed but it will NOT erase the device before programming. This is because the boot sector should not be erased if you are just programming the program sector. Click erase before programming the device if this is required.
Secure Devices
If the data file for programming the PIC has the option to secure the device set then you will no longer be able to download the PE to the PIC. The only way to reprogram the PIC is to select “Erase Complete Device” for the Erase drop down menu.
Options
 |
Ignore Device Revision allows you to ignore the top 4 bits of the JTAG ID ( the RevID). The bsdl files from Microchip always specify a RevID of 0. Other values are in production devices.
Load Common File Allows you to specify One file that includes both the Boot and Program data. This the standard way for the data file to be generated from the Microchip tools. The File offsets can then be set for both sectors. If you are not using a common file the tool expect the data to be located at address 0 in both files. The PE (Programming Executive) is file (downloadable from the Microchip webpage) that is loaded into the PIC. The tool then communicates via JTAG with the PE to actually perform the operations. If you require a different PE or upgrade then the file can be specified here |
Command Line Options
The application can operate using the command line. The file PIC32MXFlashProgrammer.exe is located in the C:\Program Files (x86)\Atomic Programming\Infinity PIC32MX folder and has the following command line parameters:
PIC32MXFlashProgrammer <Options> <PROJECT.MXP>
|
-p |
Program and verify the application sector |
|
-bp |
Program and verify the boot sector |
|
-e |
Erase the application sector. This will occur before the programming cycle regardless of the order on the command line. |
|
-be |
Erase the boot sector. This will occur before the programming cycle regardless of the order on the command line. |
|
-v |
Verify the application sector. |
|
-bv |
Verify the boot sector. |
|
-b |
Blank check the application sector |
|
-bb |
Blank check the boot sector |
|
-s <SERNUM> |
Select the AP-114 to use by serial Number |
|
-c |
Console Mode. Suppress messageboxes. The errorlevel should be checked upon completion |
|
-h |
Show the help Messagebox |
|
-<PROJECT.MXP> |
Specifies the project to use. This sets up the scan chain, boot and program filenames and all of the options including PE and file offsets. |
The following Error codes are returned
|
Error |
Errorlevel |
|
ERR_OK |
0 |
|
ERR_ERASE_ERROR |
-2 |
|
ERR_INVALID_PE_FILE |
-3 |
|
ERR_PE_DOWNLOAD |
-4 |
|
ERR_BAD_PROG_MODE |
-5 |
|
ERR_NOT_BLANK |
-6 |
|
ERR_INVALID_ID |
-7 |
|
ERR_PROJECT_SAVE |
-8 |
|
ERR_PROJECT_OPEN |
-9 |
|
ERR_VERIFY_ERROR |
-10 |
|
ERR_PROGFILE_ERROR |
-11 |
|
ERR_BOOTFILE_ERROR |
-12 |
|
ERR_NO_DEVICE_CHAIN |
-13 |
|
ERR_NO_DEVICE_SELECTED |
-14 |
|
ERR_READ |
-15 |